
With the camicia done and the muslin returned, I made the necessary adjustments to the pattern, and got ready to begin.
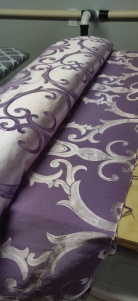
Knowing that I had more fabric than I needed gave me the confidence to not stress about where I positioned any of my pattern pieces, enabling me to center the pattern how I wanted, without worrying about wasting fabric. I was able to match sleeves as well as the skirt.


Fitting the sleeves into the bodice required some care, as they just perfectly eased into the armscye without any gathers.


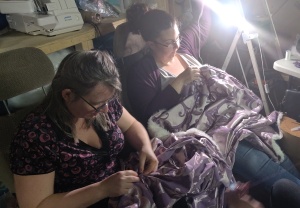
All of the trim was attached to the gown by hand. The train of the dress took awhile, but, we made it! We had three people, including myself, rotating through tacking the fur down. In addition, all the eyelets were done by hand.
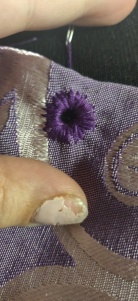
This was my first time ever attempting an eyelet, and I only had time for one practice one before putting thread to the actual gown! It was definitely a terrifying moment, as I contemplated all the possible ways it could go wrong. We chose to use a mix of two different shades of purple floss so as better to match the brocade.
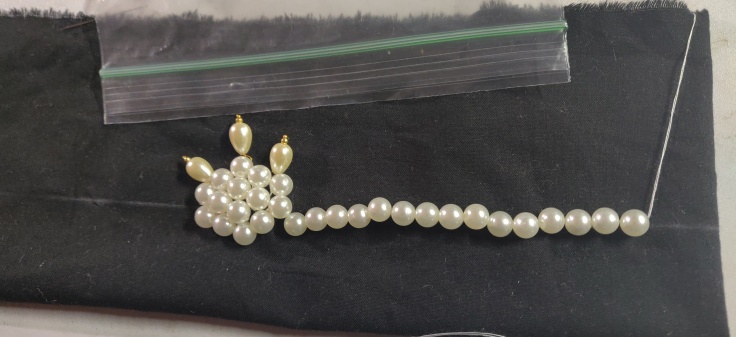
The other bit that was done by hand was the beading on the gown. I chose not to make a full underdress, and instead to simply give the illusion of one by tacking fabric to the bodice. I stitched the glass pearls directly onto the fabric, and then I attached it to the gown.

Leave a comment